
Weary from the weeks of swinging hammers and carrying material up the steep hill, we were ready to get to work on building something really cool - like nothing else on Butternut Lake.
About 6 weeks earlier we had completed our design, and got some assistance putting together the bill of materials. Of course, lumber prices had just reached record highs and availability of some of the larger green treated pieces we needed was sketchy (to say the least). We had made arrangements to get the entire boat house material order delivered right around the time we had wrapped-up demolition. But we couldn't start construction until we figured out the foundation.
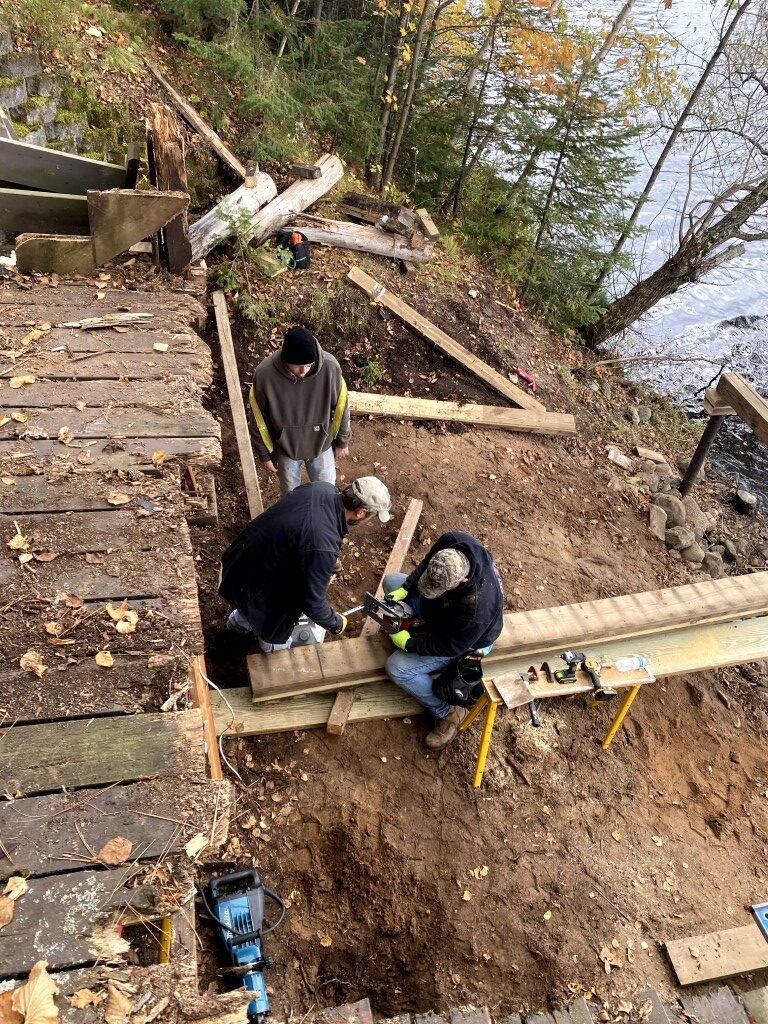
Initially, we thought we would rent a large power auger and drill three 18" holes about 4' down for the back of the building. We speculated that we could use the existing steel posts that had been jetted deep down into the lake for the front of the building. A close inspection of the steel posts showed that they were in excellent condition, and could support the front of the building. As we began to call around to find an auger with a bit large enough to drill the holes for the rear concrete footings we needed, we began to panic. Nobody within 2 hours had such a machine that was working, or that we could get down the hill. We knew we might need to dig these by hand, but that would easily be a day's work, including carrying all those concrete bags down the hill one by one, and the concrete would take 10 days to cure before we could resume construction. Frost was imminent. Things were looking bad.
A trip down the street to Northern Pines for a fish fry that evening was a twist of fate. In addition to being an excellent restaurant operated by terrific people, it is also the social center for lake residents. As luck would have it, our neighbor Mikey was there that evening. He asked about our progress, and I told him about our footing dilemma. A few minutes went by, and Mikey suggested that we investigate diamond piers, which Builders Supply in Park Falls carried.
Saturday morning, we got a great education from John at Builder's Supply about diamond piers, their engineering specs, installation methods, and construction techniques. An hour later, we had three diamond piers and "big blue" (the giant electric hammer) dropped off at the lodge.
Diamond piers are awesome. They don't disturb the soil surface, won't heave in the frost, can be easily removed, and provide the footing equivalency of a traditional 24" 4' deep concrete cylinder. We laid-out and installed 3 of them in about 1.5 hours, and had a blast doing it.
In a few of the following pictures, you'll see Tom J. bringing his fantastic good nature and outstanding construction experience to bear on the project. Without Tom's help, we couldn't have got this project done properly. Thank you Tom!
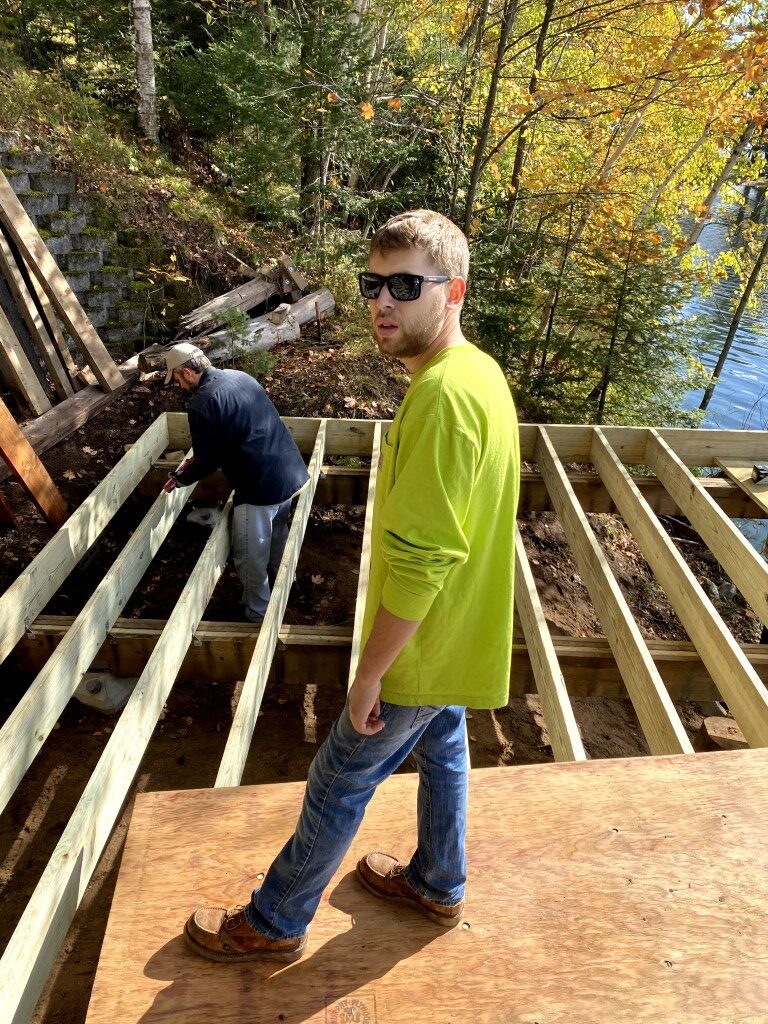
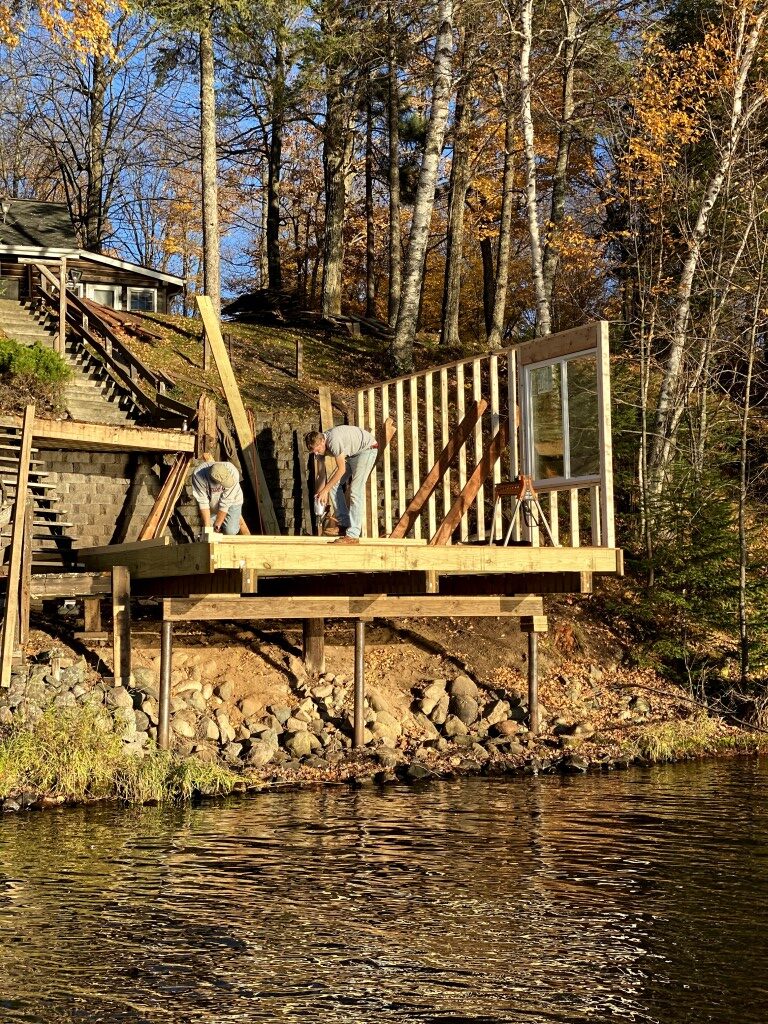
With the diamond pier foundation set and lateral beams leveled and squared, it was time to begin setting floor joists.
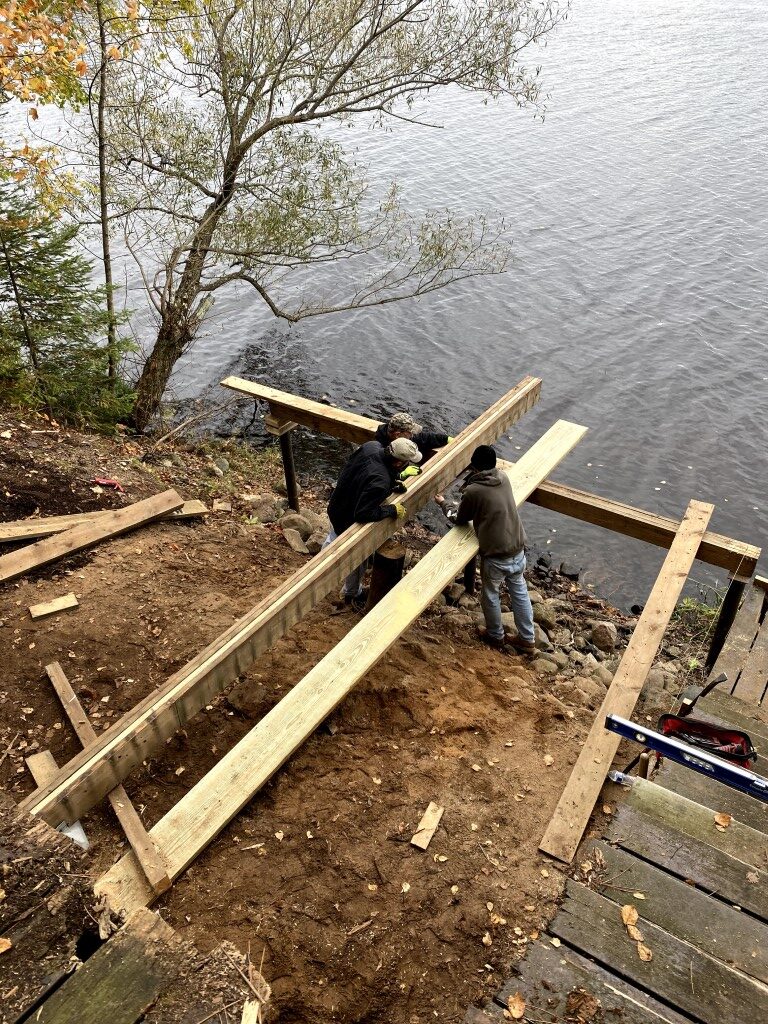
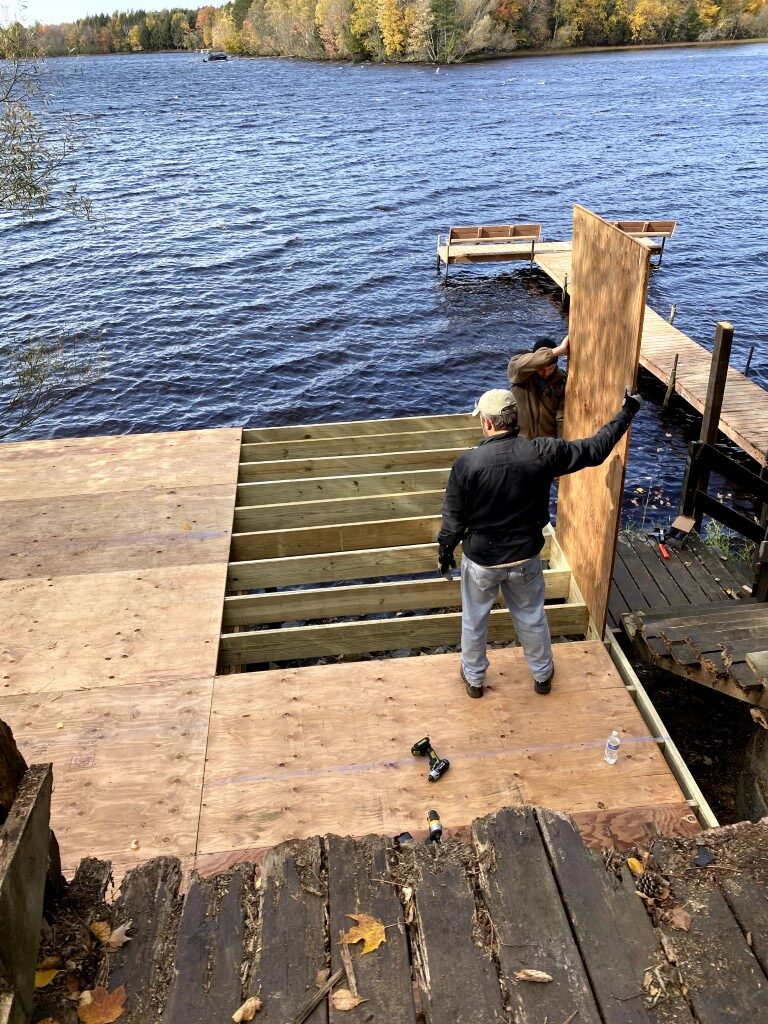
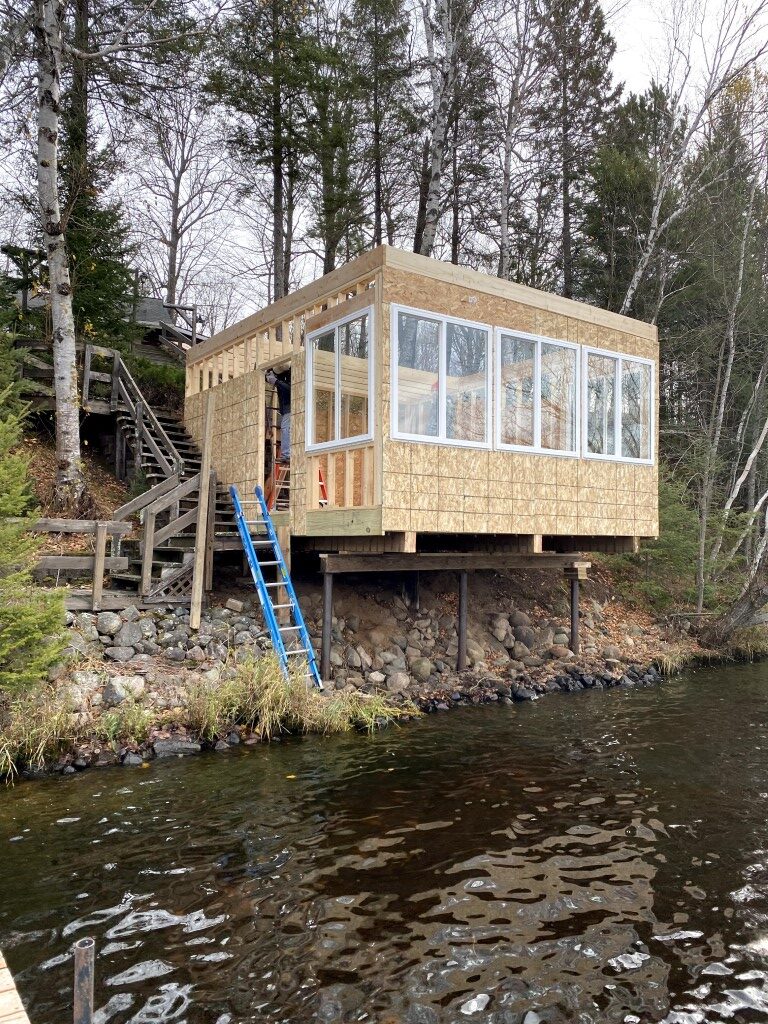
As you can see in the following picture, the building is actually cantilevered over the shoreline about 5' (as was the original boat house). This will give you the illusion of "floating" over the lake when you're in the boat house.
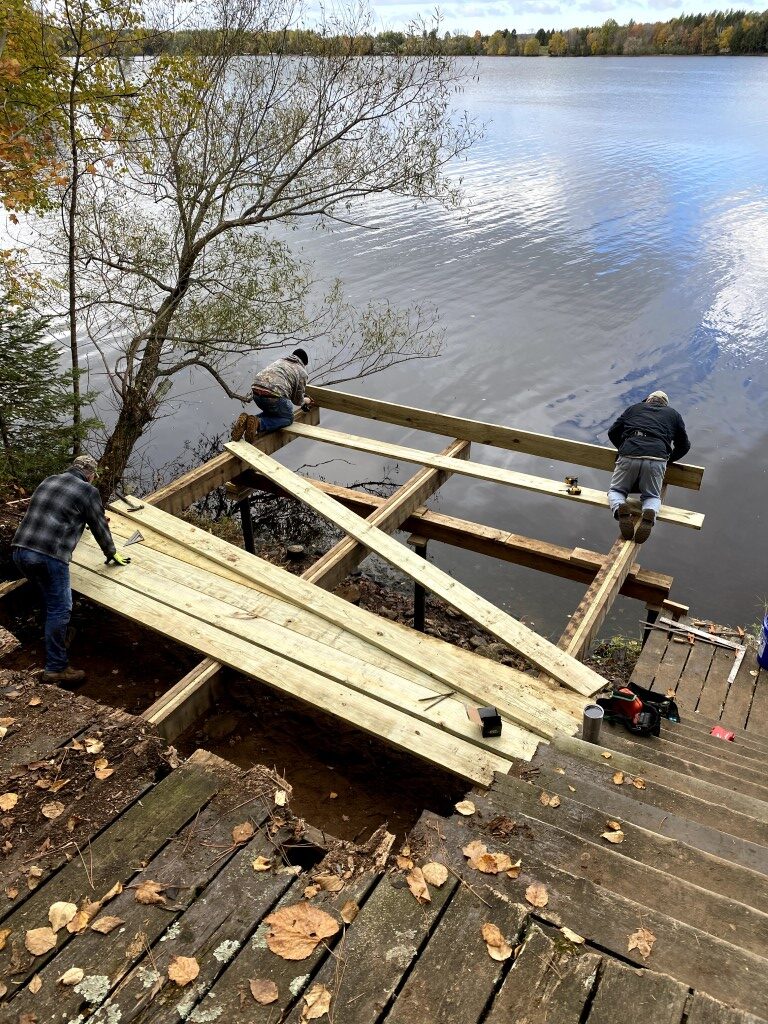
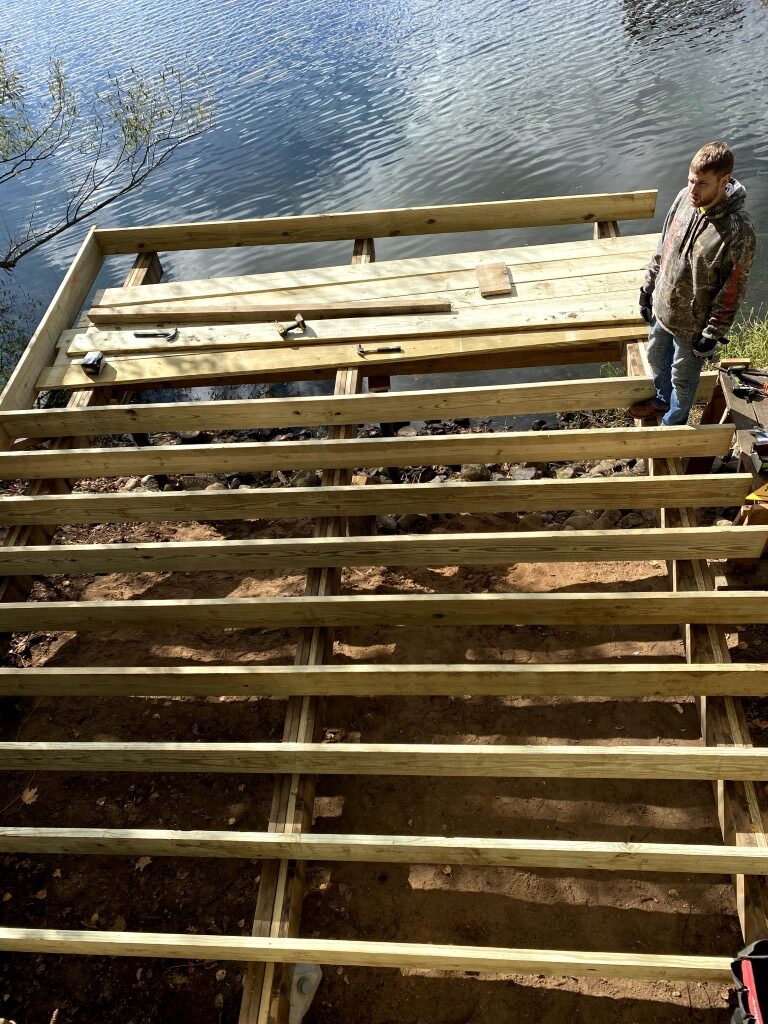
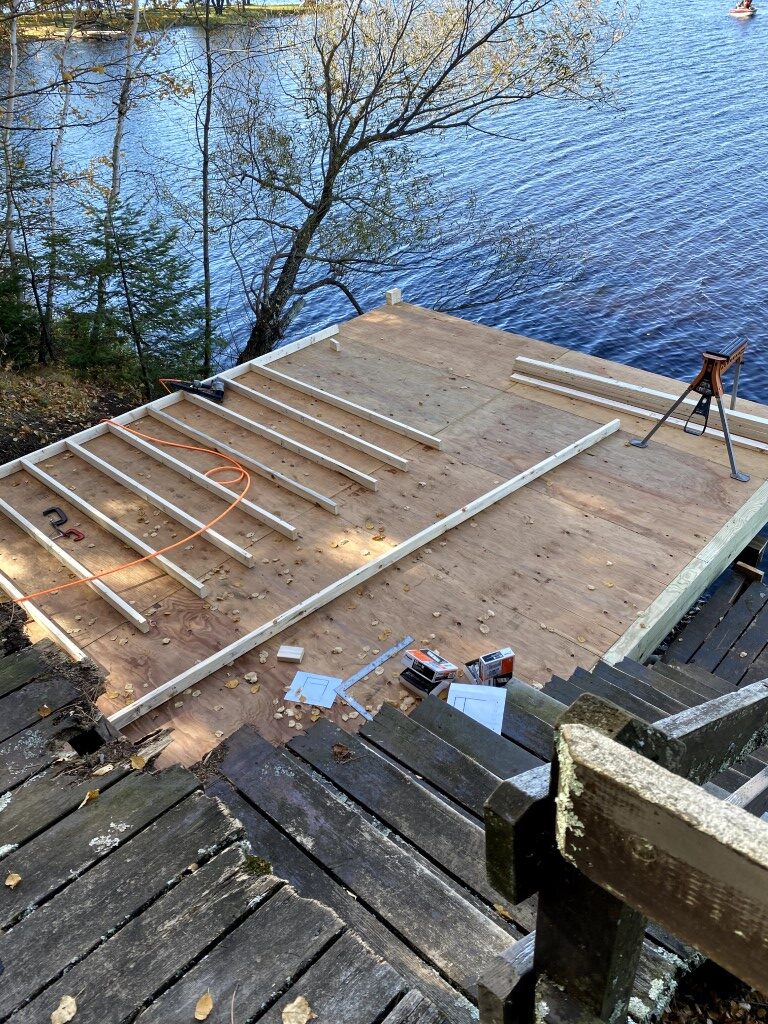
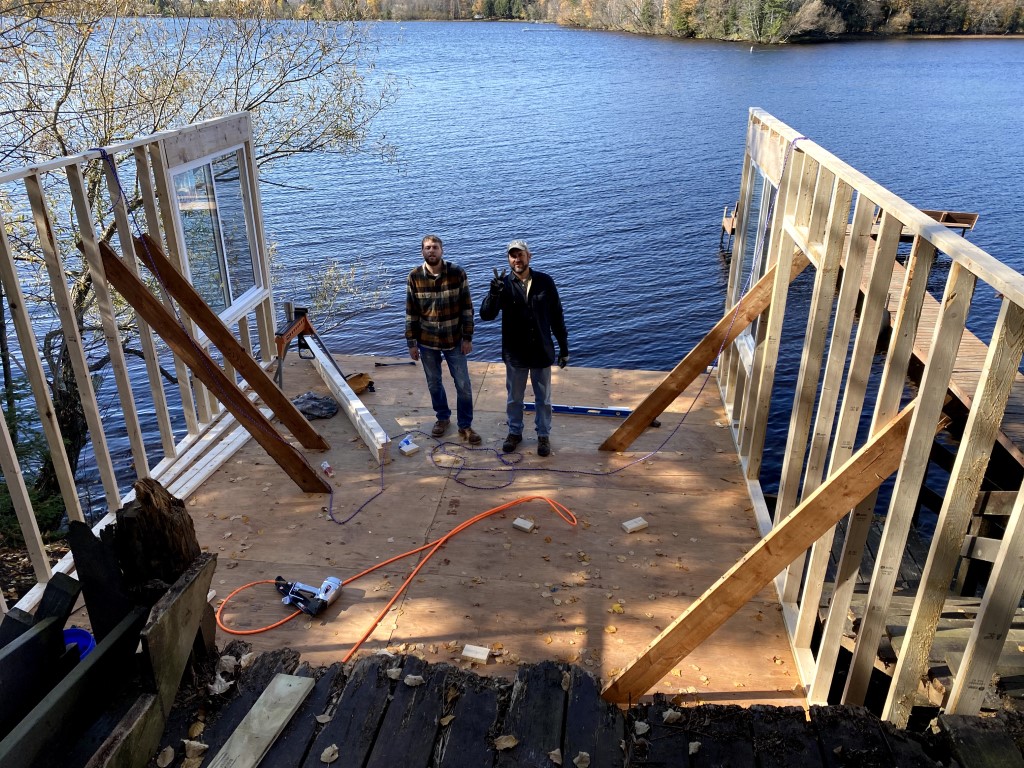
Next, set the plywood floor in.
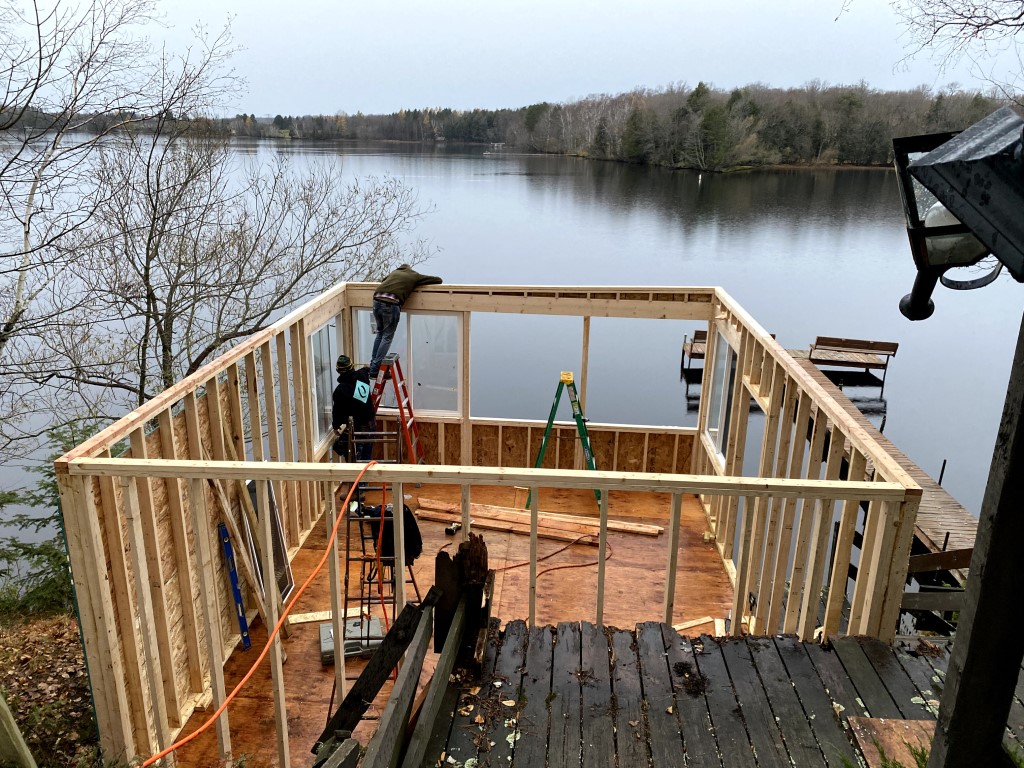
And then for the fun part - building walls on the floor and hoisting them into position.
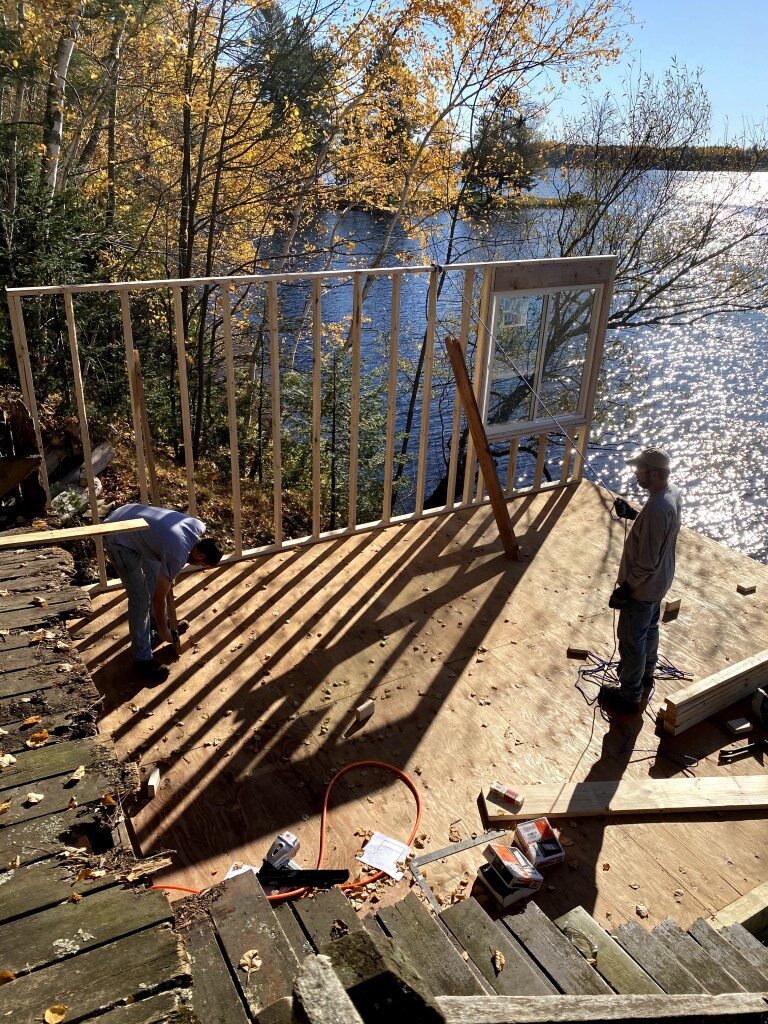
Two walls up (north and south). The south wall (left side of the picture below) is 5" lower than the north wall. The roof will be pitched to the south side of the building to cleave the water off. When we build the roof deck, we'll cut the joists with 5" of run-off in the opposite direction so the deck is level. This made building the east and west walls a bit trickier, since we had to cut each stud to a different exact length to accommodate the slope.
Third (sloped) wall up...
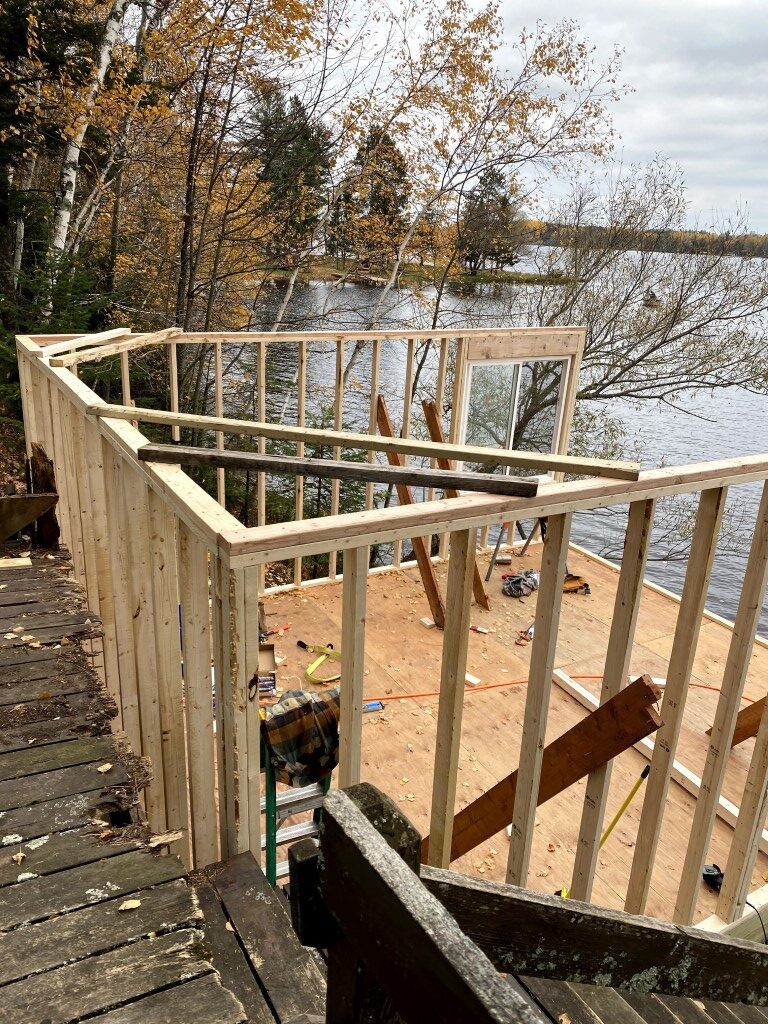
Fourth wall up! You can see the slope here - the window header is level.
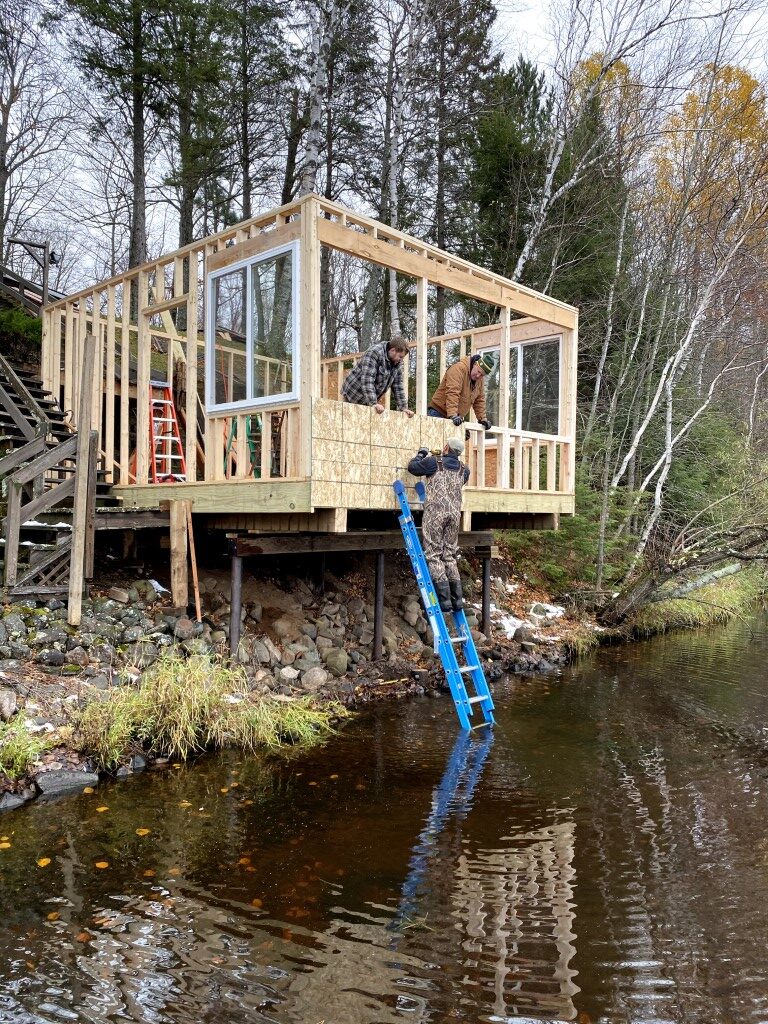
Putting the 5' x 5' 80 lb. windows in from the lake on a ladder was an adventure as well.
The next task was to ensure all the walls were plumb, square and solid. We also discovered that we had made a construction error when we installed the window headers for the north and south windows (first legitimate mistake so far), so we had to do an hour of deconstruction and reconstruction to make it right. Then it was on to attaching sheathing. A quick look at the weather forecast said we had to pick up the pace. Nights were dropping into the mid 20's, frost would be here any day now, and snow would soon follow. We had to get the ceiling done and the roof on to get it weather tight!
In our next post: The race to become weather tight.